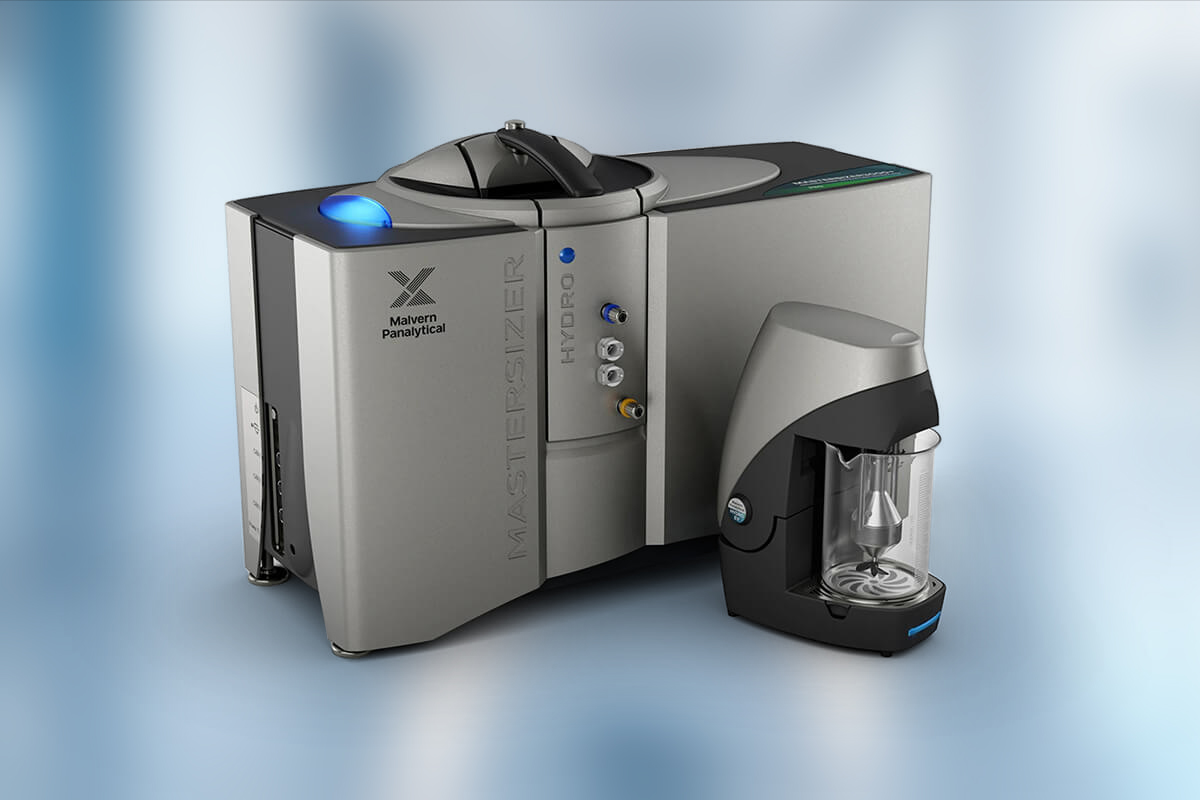
The Mastersizer 3000+ Pro is a state-of-the-art laser diffraction particle size analyzer, purpose-built for labs and industries seeking high-performance micron-scale particle sizing. As part of the new Mastersizer+ series, this model offers powerful automation, guided analysis workflows, and intelligent support systems — all while maintaining robust accuracy and repeatability.
Whether you work with powders, emulsions, or suspensions, the 3000+ Pro provides the perfect balance of performance and cost-efficiency, especially when submicron measurement isn’t a critical need.
The Mastersizer 3000+ Pro generates the highest quality data for applications needing micron scale sizing capabilities and the advanced software options of Mastersizer Xplorer.
Robust and reliable sizing performance in the range from 0.1 – 2500 µm – perfect if you do not need sub-micron size information.
User-friendly software with built in features for automatic measurement setup, method development and live data monitoring.
Flexibility to meet your sample requirements with a range of easily interchanged manual and automated accessories tailored for measurements of suspensions, emulsions and powders
The most connected particle size experience with Smart Manager for live health monitoring to limit downtime and OmniTrust to control instrument auditing and access.
The Mastersizer 3000+ Pro is widely used across various industries, including:
Pharmaceuticals: Particle size characterization for drug formulations and powders.
Chemicals: Analysis of pigments, catalysts, polymers, and detergents.
Food & Beverage: Measurement of powders, emulsions, and suspensions to ensure product consistency.
Mining & Minerals: Particle size distribution for ores, clays, and minerals.
Cosmetics: Quality control of powders, creams, and suspensions.
Nanotechnology: Precise sizing of nanoparticles and fine materials.
Environmental Science: Analysis of soils, sediments, and aerosols.
Samples are prepared and introduced into the system using either dry or wet dispersion methods, depending on the material type and analysis requirements:
Dry Dispersion: Powders are dispersed in a controlled airflow to prevent particle agglomeration and ensure an even distribution in the measurement zone.
Wet Dispersion: Particles are suspended in a suitable liquid medium (often water or another solvent) with stirring and sometimes ultrasound to break up clusters.
Proper dispersion is critical to ensure that the measured particle size distribution accurately represents the true sample.
A laser beam (using a red He-Ne laser at 633 nm and blue LED at 470 nm) passes through the dispersed sample. As the laser light interacts with the particles, it is scattered at angles dependent on the particle size:
Larger particles scatter light at small angles relative to the beam.
Smaller particles scatter light at larger angles.
This angular scattering pattern is unique to the particle size distribution present in the sample.
A series of highly sensitive detectors arranged around the measurement cell capture the scattered light intensity at multiple angles simultaneously. The system then analyzes this scattering data using established light scattering theories:
Mie Theory (used when the optical properties of the sample are known),
Fraunhofer Approximation (used for larger particles or when optical properties are unknown).
The software transforms the scattering pattern into an accurate particle size distribution, typically reported in terms like D10, D50, and D90 values.
The Mastersizer Xplorer software interfaces with the hardware to provide an intuitive user experience. It offers:
Real-time data quality feedback to detect issues such as poor dispersion or sample anomalies.
Guided method development and Standard Operating Procedure (SOP) creation, ensuring consistent and reproducible measurements across operators and time.
Comprehensive reporting and regulatory compliance tools to meet industry standards.
This combination of hardware and intelligent software streamlines particle size analysis for both routine quality control and advanced R&D applications.
| Specification | Value |
|---|---|
| Technology | Laser Diffraction |
| Particle Size Range | 0.1 to 2500 µm |
| Measurement Time | <10 seconds |
| Laser Source | Red He-Ne laser (633 nm), Blue LED (470 nm) |
| Detectors | 45 detectors for wide angle detection |
| Accuracy | Better than 0.6% on standard latex samples |
| Repeatability | Better than 0.5% |
| Dispersion Modes | Wet and Dry (manual to fully automated) |
| Software | Mastersizer Xplorer + OmniTrust Compliance Tools |
| Connectivity | Smart Manager, Remote Access, LIMS Integration |

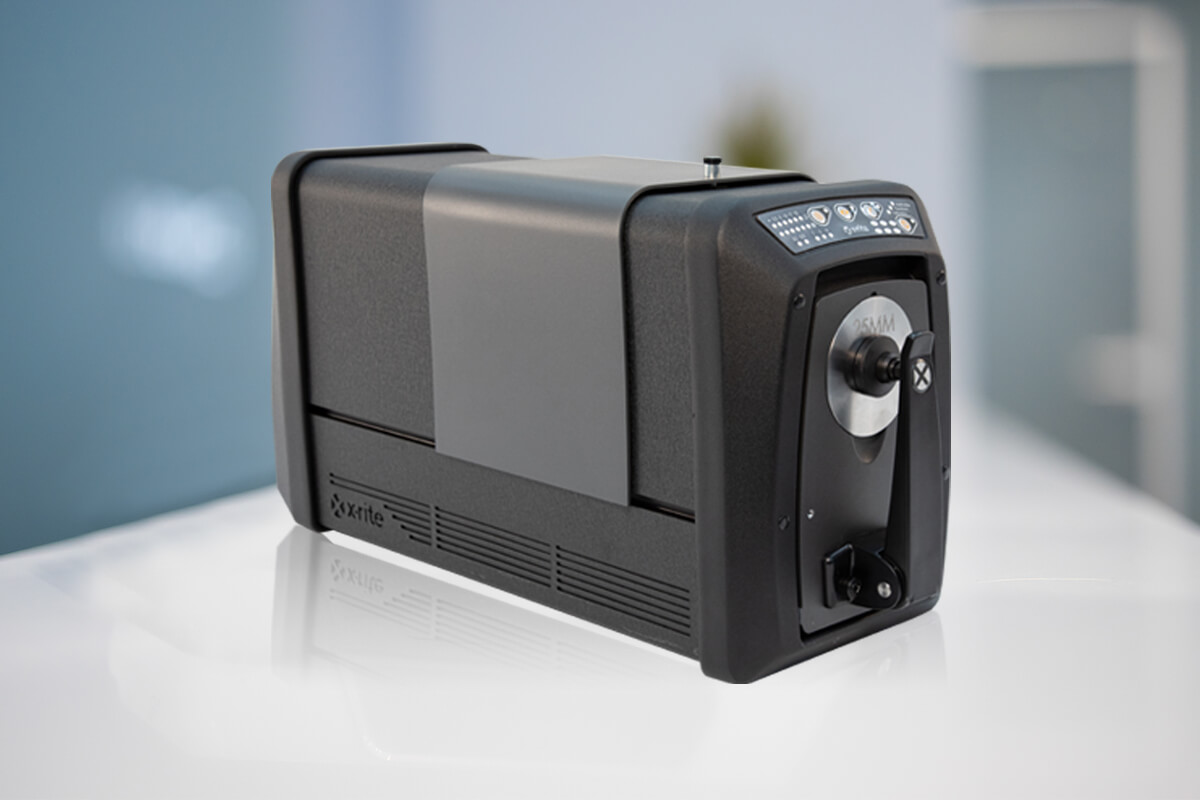
The Ci7860 Sphere Benchtop Spectrophotometer is a high-precision instrument designed to deliver ultimate color measurement accuracy, repeatability, and consistency across the most demanding industries. Developed by X-Rite, the Ci7860 sets the industry benchmark for digital color control, making it an essential tool for brand owners, manufacturers, and suppliers who require the highest level of color fidelity and quality assurance.
Industry-Leading Accuracy
ΔE* repeatability ≤ 0.01 ensures the highest level of precision in color measurement, ideal for tight tolerance applications.
Tight Inter-Instrument Agreement (IIA)
Exceptional consistency between devices (≤0.06 ΔE*) supports seamless data exchange across the global supply chain.
Reflectance and Transmittance Modes
Measures both opaque and transparent materials in a single device, increasing flexibility across product types.
UV Calibration & Control
Automated UV control enables accurate measurement of optically brightened materials such as textiles and papers.
Smart Data Capture
Embedded profiling for gloss and fluorescence detection, ensuring complete data acquisition for complex materials.
Ergonomic Design
Easy-access measurement port and intuitive interface make operation faster and more comfortable for lab technicians.
NetProfiler Compatibility
Supports X-Rite’s NetProfiler software for remote calibration and performance validation—ensuring measurement consistency across multiple locations.
Compliant with Industry Standards
Conforms to CIE, ASTM, and ISO standards, suitable for regulated industries and international quality programs.
The Ci7860 Spectrophotometer is trusted across diverse industries that demand superior color control, including:
Automotive: Ensures color accuracy for interior and exterior parts, coatings, and plastics.
Paints & Coatings: Measures samples with various gloss levels and surface finishes for consistent formulation and QC.
Plastics: Monitors masterbatch, pre-colored pellets, and molded parts for precise batch-to-batch consistency.
Textiles & Apparel: Accurately measures dyed fabrics, trims, and brightened substrates with UV control.
Packaging: Maintains brand color integrity on paperboard, plastics, foils, and transparent films.
Ink & Print: Ensures printed materials meet brand standards across various substrates and lighting conditions.
The Ci7860 utilizes integrating sphere technology and dual-beam spectrophotometry to measure color with high accuracy.
Illumination: The sample is illuminated using multiple light sources, including a pulsed xenon lamp and UV light.
Light Integration: The integrating sphere diffuses reflected or transmitted light to capture total spectral response.
Detection: High-resolution photodiode arrays analyze the light across the visible spectrum (360–750 nm).
Spectral Data Analysis: The device calculates colorimetric values (Lab*, ΔE*, etc.) under various standard illuminants and observer angles.
Data Output: Results are displayed via software, with options to export for formulation, QC, or customer reporting.
| Specification | Value / Description |
|---|---|
| Geometry | d/8° sphere geometry with specular-included (SCI) and specular-excluded (SCE) modes |
| Wavelength Range | 360–750 nm |
| Spectral Interval | 10 nm (measured every 10 nm) |
| Measurement Apertures | Large, Medium, Small (typically 25 mm, 10 mm, 6 mm) |
| Measurement Time | < 2 seconds |
| Repeatability | ≤ 0.01 ΔE* (on BCRA II tiles) |
| Inter-Instrument Agreement | ≤ 0.06 ΔE* avg. (BCRA II, 12 tiles, D65/10°) |
| Reflectance Range | 0–200% |
| UV Control | Automated UV calibration and UV exclusion |
| Connectivity | USB, Ethernet |
| Software Compatibility | X-Rite Color iQC, Color iMatch, NetProfiler |
| Power Supply | 100–240 V AC, 50/60 Hz |
| Dimensions | Approx. 508 × 356 × 356 mm (L × W × H) |
| Weight | Approx. 16 kg |